Are you also excited about your new gaming chair, but stuck with the confusing DXRacer assembly right now? Are you also scared of doing something wrong, and ending up with the back rest upside down? Don’t worry, there’s no need to be scared or become frustrated at all! We’ve assembled plenty of DXRacers in the past, and we’ll guide you through the DXRacer assembly process – step by step, and with photos to make it even easier. And the good news is: you don’t have to be Tim ‘The Toolman’ Taylor to assemble your DXRacer chair on your own, everyone can do it!
DXRacer Assembly In 8 Easy Steps:
Step 1: Unboxing
The first step in your DXRacer assembly is pretty obvious (and known from IKEA): open the box with a cutter or pair of scissors, but don’t cut too deep into it as you might accidentally cut your DXRacer’s back rest as well. All this should be done in a bigger room though, as you’ll need some space on the floor for your assembly. Unbox everything, so it looks like this:
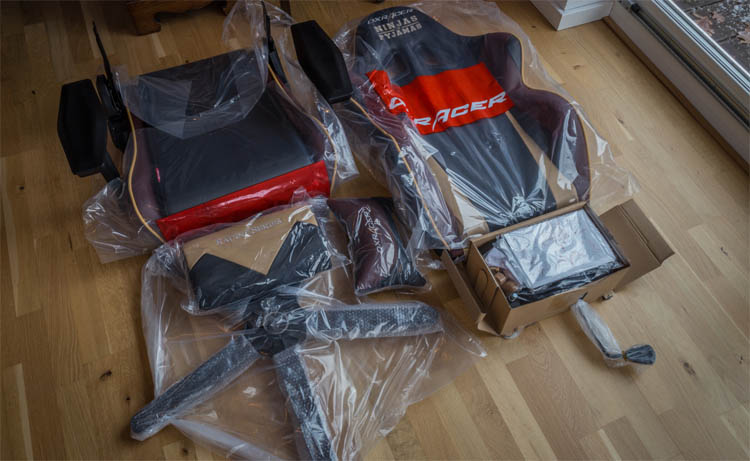
Check if there’s any shipping damage to the box, or even to some parts of the chair. If not, you’re ready to start!
Step 2: Unscrew the screws from the back rest
You should always start out with the back rest. On each side there are two screws already screwed in, that you will need to unscrew first. Use the Allen key (included in the box) to do that:
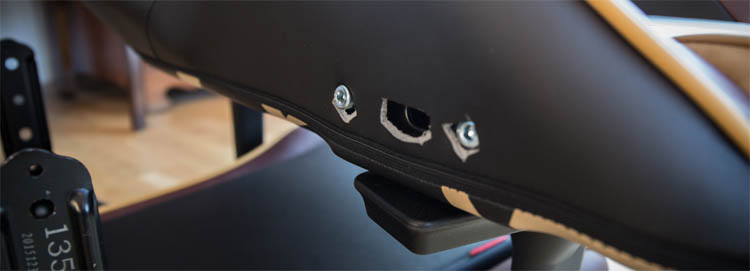
Each of the four screws has two shims attached, which you also need to get out of the back rest. This one’s a bit tricky though: the shims tend to fall inside the back rest’s cushioning, so you should always try to get them out with the screw. If you fail miserably, try to get pick them up with the Allen key – you’ll get there, don’t worry.
Step 3: Assemble Back Rest & Seat
Don’t throw these four screws away though (obv) as you need them right now to connect the back rest to the actual seat. Turn the two hinges at the side of the seat so that they face upwards, and push the back rest between them. If you’re doing it right, it should look like this:
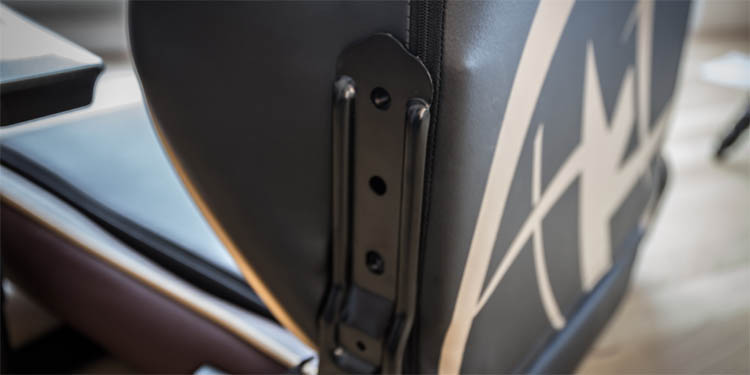
Put the four screws into the four holes and screw them in – but don’t use force! If you’ve aligned both parts correctly, they should go in very easily. If they don’t, try to re-align both parts so that they fit. Also important: both shims need to stick to the screw head, just like shown below:

Step 4: Unscrew the screws from the seat
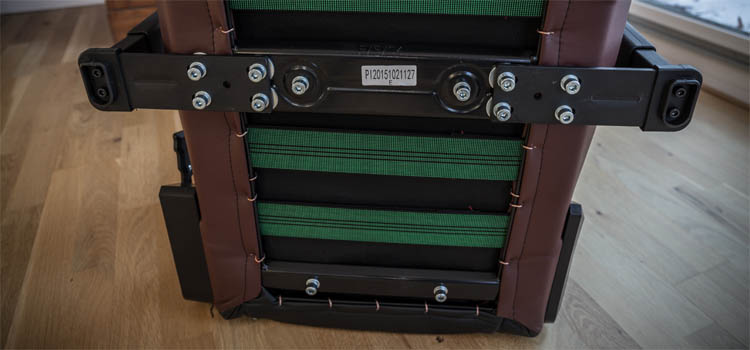
Now that your seat is slowly taking shape, you need to turn it on its back – so you can access the underside of the DXRacer. There are lots of screws on the underside, but you should only focus on the four in the middle. These need to be unscrewed, similarly to the 2nd step in the DXRacer assembly:
Step 5: Attach Undercarriage
When you unscrew something, you normally need to screw it back in. That’s also the case with the four screws from step 4: these are needed to now attach the undercarriage to the underside of the seat. Make sure that the side that reads ‘FRONT‘ also faces the front edge of the seat, just like here:
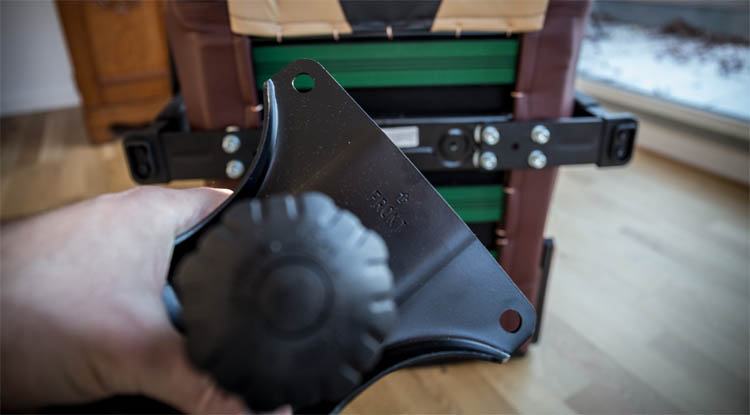
The four screws should now fit perfectly in the holes to attach that part to the seat. Always use the Allen key during your DXRacer assembly to tighten the screws, but without using too much force.
Step 6: Assemble the Base
First of all you should now take a rest and open a beer (that’s at least what I did). Afterwards you should now take a closer look at the 5-star base of the DXRacer, which is the next thing to assemble. Grab the bag with the five wheels and stick them into the base:
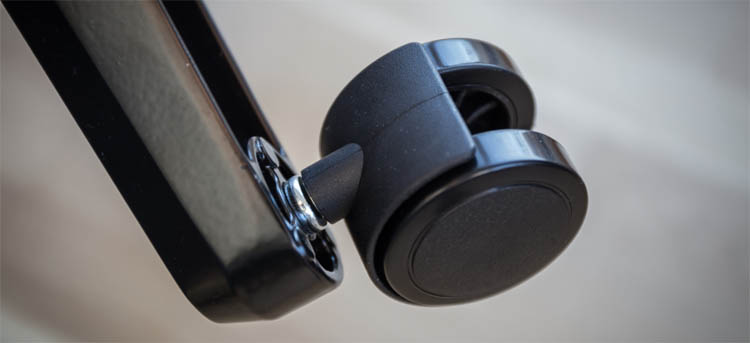
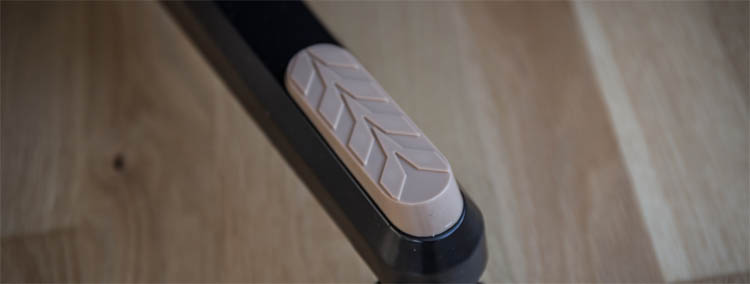
For this step, some force is actually needed – otherwise your DXRacer will be uneven. Afterwards you should grab the bag with the plastic covers that fit onto the star base. Clip these into the base, but don’t use that much force. They should just „click“ in easily.
Step 7: Insert Gas Cylinder
As we’re getting closer to the final steps of the DXRacer assembly, it might be time for another beer! After that you should grab the large gas cylinder that was included in the box. Put the plastic cover over it (it’s made out of 3 parts and extends) and put the gas cylinder into the 5-star base, just like this:
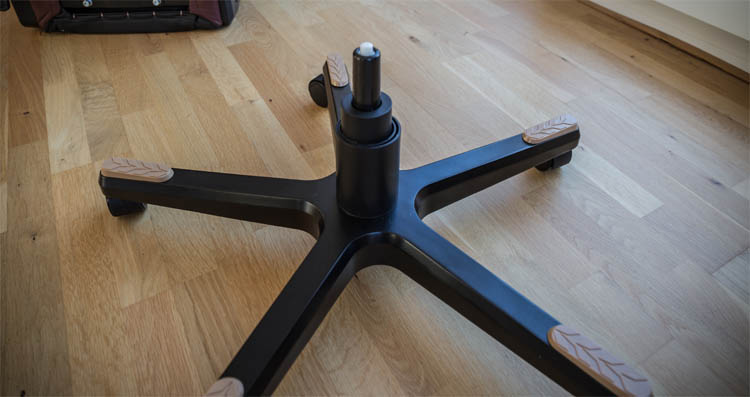
Step 8: Final DXRacer Assembly
Before you’re ‘ready to game’ in your new DXRacer, you’ll need to take care of the final DXRacer assembly. In the final step, you just need to put the seat on the gas cylinder. There are no screws or anything else to be tightened, but you’ll have to make sure that it ‘clicks’ and doesn’t fall off. When you’re done with your DXRacer assembly, it should look something like this:
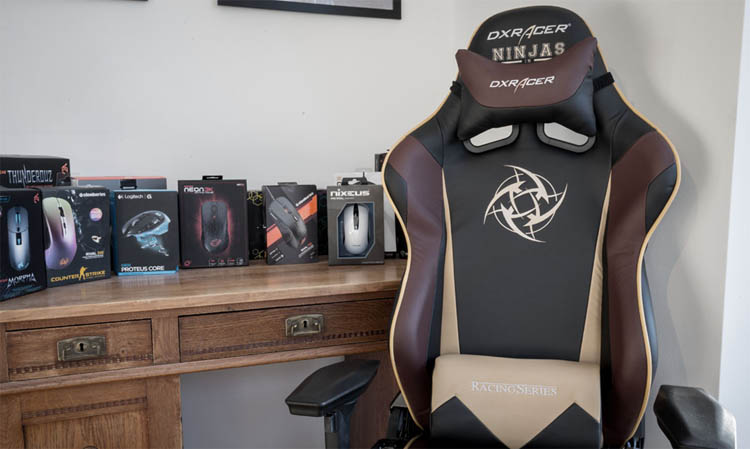
If there are still any parts left (besides the Allen key), you skipped a step or did a major mistake. But to be honest, with this step-by-step guide to a DXRacer assembly nothing can go wrong. Now it’s time to ‘have a seat’, adjust the chair to your liking (also with the pillows) and start to play!

